Creating requisition requests is an essential part of the recruitment process. This guide will walk you through the steps to create, manage, and customize requisition requests within your system.
Step 1: Access the Recruitment Module
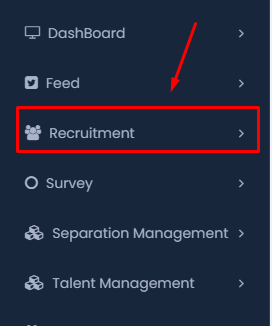
- Navigation: From your main dashboard, locate and click on the Recruitment section in the side menu.
Step 2: Open ‘My Requisitions’
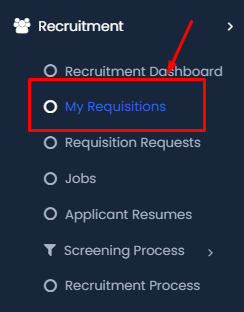
- Action: Under the Recruitment module, select My Requisitions from the dropdown list.
Step 3: Add a New Requisition

- Action: Click on the + Add Requisition button at the top right corner of the screen.
Step 4: Enter Requisition Details
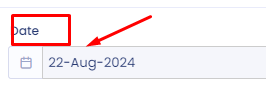
- Date: Enter the date for the requisition request by clicking on the calendar icon next to the Date field.
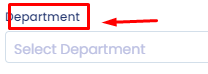
- Department: Select the appropriate department from the dropdown menu under the Department section.
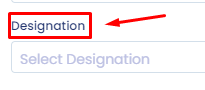
- Designation: Choose the designation for which the requisition is being created.
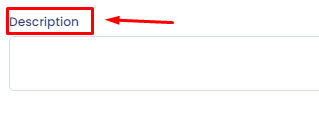
- Description: Provide a detailed description of the requisition, outlining the role, responsibilities, and any other pertinent information.
Step 5: Save the Requisition
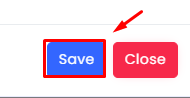
- Action: Once all details have been entered, click on the Save button to save your requisition request. If you wish to cancel the operation, click on Close.
Step 6: Customize Columns Preferences
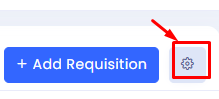
- Action: If you need to customize the columns shown in your requisition list, click on the settings icon next to the Add Requisition button.
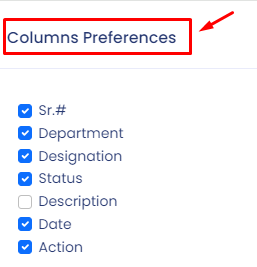
- Preferences: Select or deselect the columns you wish to display by ticking the checkboxes in the Columns Preferences menu.
Step 7: Viewing and Managing Requisition Entries

- Show Entries: Navigate to the requisition request section where you can choose how many entries to display at once. Use the dropdown menu to select from options like 10, 25, 50, or 100 entries .
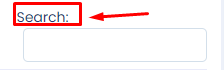
- Search Function: To quickly find a specific requisition request, use the search bar located at the top right of the list. Enter keywords related to the requisition to filter the results.
Step 8: Editing or Deleting Requisitions
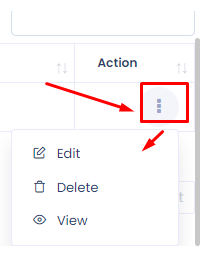
- Action: Locate the requisition you wish to modify. Click on the three-dot menu under the “Action” column to reveal options like Edit, Delete, or View .
- Edit: Modify the details of the requisition.
- Delete: Permanently remove the requisition.
- View: See detailed information about the requisition.
Step 9: Requisition Approval Process
- Approval Details: After creating or editing a requisition, it may need to go through an approval process. The requisition approval detail section displays the list of approvers, including their names, designations, approval date, remarks, and the current status of the requisition.
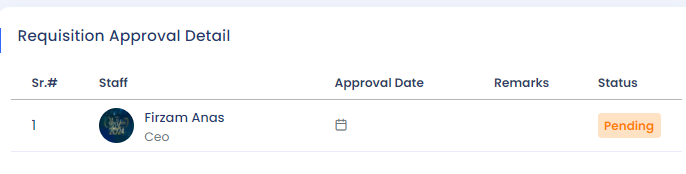
- Pending Status: The status will initially show as “Pending” until the requisition is approved.
By following these steps, you can efficiently manage requisition requests within your system. Whether you need to search for specific entries, edit or delete requests, or track the approval status, this guide provides all the necessary instructions to streamline your recruitment process.