Connecting a new biometric device to your system involves several steps, including adding the device, configuring its settings, and ensuring it’s correctly recognized by the system. Follow the instructions below to ensure a smooth setup.
Steps for Device Connectivity:
- View Existing Devices:

- Navigate to the device management section of your system.
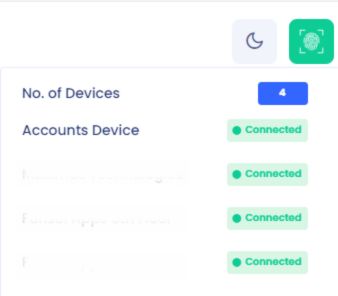
- You will see a panel displaying the “No. of Devices” currently connected.
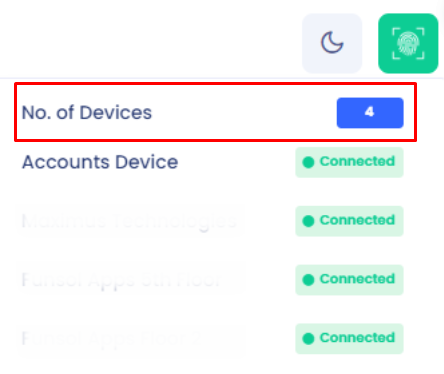
- If a device is connected, it will be indicated with a red “Connected” label. Check this before adding a new device to avoid conflicts.
Add a New Device:
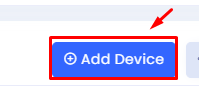
- Click on the “+ Add Device” button to begin the process of adding a new device.
- A new dialog box will appear, prompting you to enter the device details.
Enter Device Information:
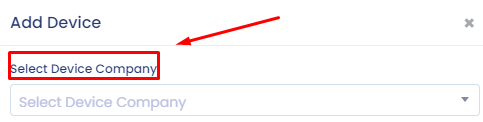
- Select Device Company: From the dropdown menu, select the manufacturer or company of the device you are connecting.
- Biometric Device Name: Enter a unique name for the device. This name will help you identify the device within the system.
- Device IP Address: Input the IP address assigned to the device. This ensures the system can communicate with the device over the network.
- Device Port Number: Specify the port number used by the device for communication.
- Device Password: Set or enter the device’s password for secure access.

- After filling in the necessary details , click the Save button to complete.
Customizing the Columns
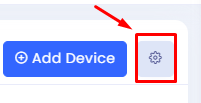
- Click on this Settings Icon to open the Columns Preferences menu.
Available Columns:
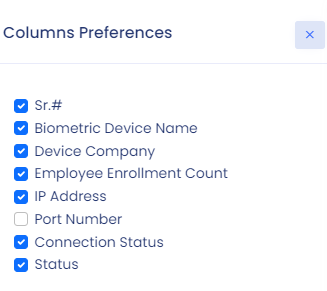
- Sr.#: The serial number for each device.
- Biometric Device Name: The name of the biometric device.
- Device Company: The manufacturer or company of the device.
- Employee Enrollment Count: The number of employees enrolled on the device.
- IP Address: The IP address of the biometric device.
- Port Number: The port number used by the device. (This option is unchecked by default).
- Connection Status: The current connection status of the device (e.g., online, offline).
- Status: The operational status of the device.
Selecting/Unselecting Columns:
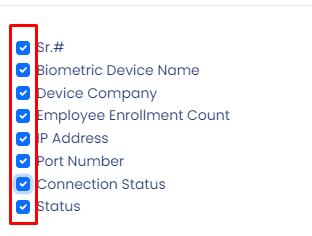
- To show a column in the table, ensure its checkbox is checked.
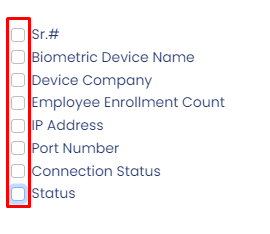
- To hide a column, simply uncheck the corresponding checkbox.
- Make sure to customize the columns according to the information you need most frequently.
Search for Devices:
- If you need to locate a specific device, use the “Search” bar to filter the list of devices by name, IP address, or other relevant details.
Finalize and Monitor:
- Once the device is added, monitor its status to ensure it connects successfully. The icon with a fingerprint symbol on the top right can be used to access quick actions or alerts related to your devices.
By following these steps, you should be able to successfully connect and manage your biometric devices within your system. Always ensure that the device settings match the network and security configurations of your environment to prevent connectivity issues.