Generating an attendance report is essential for monitoring employee attendance and managing workforce efficiency. Below is a comprehensive guide with visual instructions to help you create an attendance report.
Step 1: Access the Reports Section
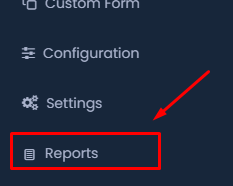
- Navigate to the sidebar on your dashboard.
- Locate and click on the Reports option.
Step 2: Access the Attendance Report
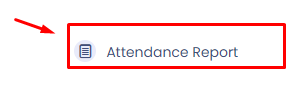
- Once all the search criteria are set and you have generated the report, you can access the Attendance Report by clicking on the corresponding button.
Step 3: Select Employee Status
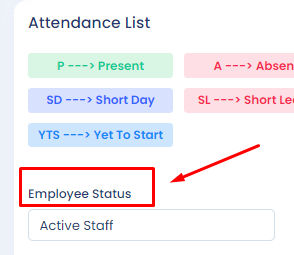
- Under the Attendance List section, locate the Employee Status dropdown.
- Select the relevant employee status (e.g., Active Staff) from the options provided.
Step 4: Choose the Employee Name
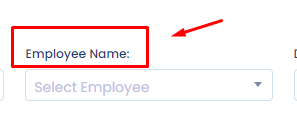
- Proceed to the Employee Name field.
- Select the specific employee you wish to include in the report from the dropdown list.
Step 5: Specify the Department Name

- Move to the Department Name field.
- Choose the department of the employee from the dropdown list to filter the report accordingly.
Step 6: Select the Month
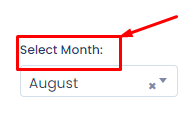
- Go to the Select Month field.
- Choose the month for which you need the attendance report.
Step 7: Select the Year
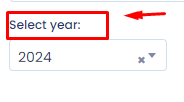
- In the Select Year field, pick the year for the report.
Step 8: Search for the Report
- After setting all the required fields, click on the Search button to generate the report.
Step 9: View and Interpret the Attendance List

- The system will display the attendance list, showing various attendance statuses such as Present, Absent, Short Leave, etc.
Step 10: Export or Print the Report
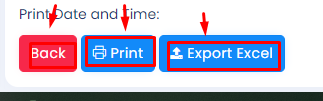
- Once satisfied with the report, you can either print it or export it to Excel for further analysis.
- Click on Export Excel to download the report or Print to get a physical copy.
Conclusion
By following these steps, you can efficiently generate and manage attendance reports, ensuring accurate and up-to-date attendance records for your organization.