Step 1: Access the Announcements Section
- Start from the Dashboard:

- After logging in, locate and click on the “Dashboard” option in the main navigation menu on the left side of the screen.
- Navigate through the Dashboard:
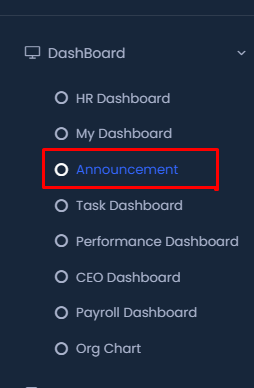
- Once you are in the “Dashboard” section, look for the sub-menu that lists various dashboard options.
- Click on the “Announcement” option to enter the Announcements section.
Step 2: Create a New Announcement
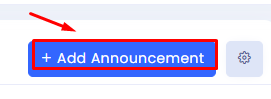
- Click on the “+ Add Announcement” Button.
- This button is usually found in the top right corner of the Announcements section.
- Enter the Announcement Title.
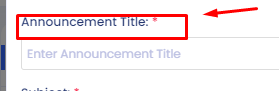
- The title should be concise and informative.
- Enter the Subject of the Announcement.
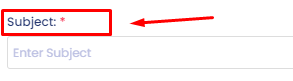
- This is a brief summary or the main focus of the announcement.
- Set the Announcement Date.
- Choose the date when the announcement will be published or made visible.
- Set the Expiry Date.
- Determine the duration for which the announcement will be active. After this date, the announcement will no longer be visible.
- Write the Announcement Description.
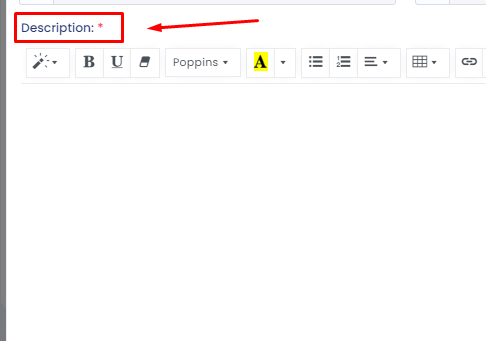
- Provide the full details of the announcement. Use formatting tools to highlight important information.
- Set the announcement Status.
- Toggle the switch to enable or disable the announcement. Ensure it’s turned on if you want it to be active immediately.
- Save the Announcement.
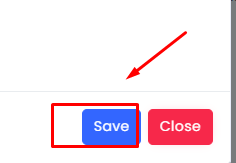
- Once all the details are filled in, click the “Save” button to publish the announcement.
Step 3: Manage Existing Announcements
- View the List of Announcements.
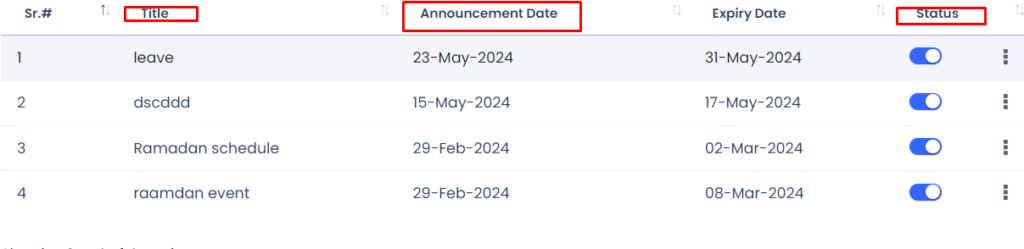
- After creating announcements, they will appear in a list. You can see the title, date, and status.
- Edit or Delete an Announcement.
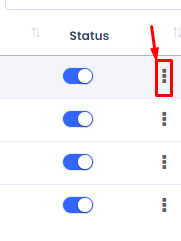
- To edit an existing announcement, click on the three dots next to the status toggle.
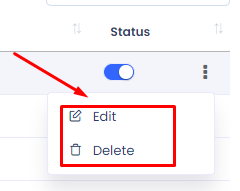
- Select “Edit” to modify the announcement details or “Delete” to remove it from the list.
Step 4: Adjust Column Preferences
- Access Column Preferences:
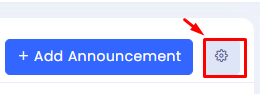
- Click on the gear icon next to the “+ Add Announcement” button.
- This will open the “Columns Preferences” menu.
- Select or Deselect Columns:
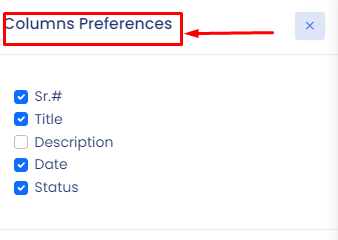
- Check or uncheck the boxes next to each column name (e.g., Sr.#, Title, Description, Date, Status) to customize which columns you want to be visible.
Step 5: Adjust the Number of Entries Displayed
- Change the Number of Visible Entries:
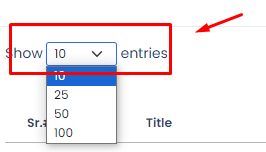
- Locate the dropdown menu labeled “Show X entries” above your list of announcements.
- Select how many entries (10, 25, 50, or 100) you want to view per page.
Step 6: Search for Specific Announcements
- Use the Search Function:
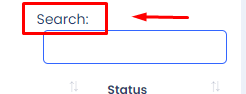
- In the “Search” box at the top right of your announcements list, type in any keyword or title to quickly locate a specific announcement.
With these steps, you can efficiently manage your announcements, ensuring that your users are always informed about the latest updates. Whether you’re announcing a new feature, event, or important notice, following this guide will help you communicate effectively with your audience.