Step 1: Access the Configuration Menu
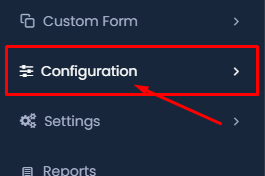
- Navigate to the Configuration Menu: Begin by locating and clicking on the Configuration option in the main menu on the left-hand side of your screen.
Step 2: Select the Loan Type Option
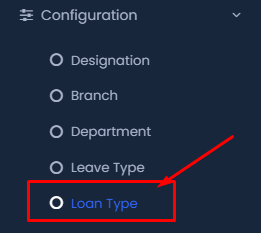
- Select Loan Type: Once you’re in the Configuration menu, choose the Loan Type option from the list. This option allows you to manage different types of loans.
Step 3: Add a New Loan Type
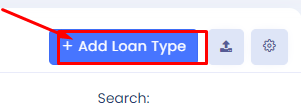
- Click on Add Loan Type: To add a new loan type, click the + Add Loan Type button located at the top of the page.
Step 4: Enter Loan Type Details
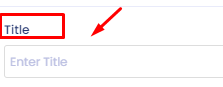
- Fill in the Title: In the form that appears, enter the title of the loan type in the provided field.

- Set Status and Approval Requirement: Toggle the Status switch to activate the loan type and decide if this loan type needs approval by toggling the Is Need Approval switch.
Step 5: Save the Loan Type

Click Save: After entering the necessary information and making the required selections, click the Save button to store the new loan type.
Step 6: Import or Download Templates

- Click the Import Button: If you want to import multiple leave types at once, click on the import button next to the Add Leave Type button.
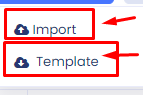
- Choose Import or Template: You can either import a file with leave types or download a template to fill in and upload later.
Step 7: Customize Column Preferences
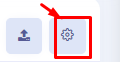
- Click the Settings icon: Finally, click the settings icon.

- Columns are displayed in your loan type list. Check or uncheck the boxes as needed.
Conclusion
By following these steps, you can effectively configure and manage loan types within your system, ensuring that the necessary information is correctly set up and easily accessible.