Step 1: Access the Configuration Menu
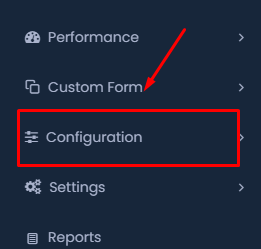
- Navigate to the Main Menu: On the left-hand side of your dashboard, locate and click on the Configuration option under the Custom Form section.
Step 2: Select the Branch Configuration
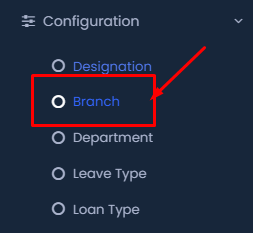
- Choose ‘Branch’: Within the Configuration menu, click on the Branch option. This will open the branch configuration settings.
Step 3: Add a New Branch
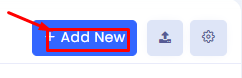
- Click on ‘Add New’: To start adding a new branch, click the Add New button located on the upper-right side of the interface.
Step 4: Enter Branch Details
- Fill in Branch Information:
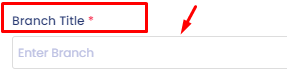
- Branch Title: Enter the name of the branch in the ‘Branch Title’ field.
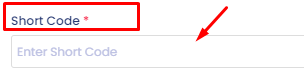
- Short Code: Enter a short code for the branch in the ‘Short Code’ field.
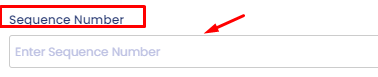
- Sequence Number: Enter the sequence number for the branch in the ‘Sequence Number’ field.
Step 5: Attach a Logo

- Upload a Logo: If desired, click on the Choose File button to upload a logo for the branch.
Step 6: Set Branch Status

- Toggle the Status: Use the Status toggle to activate or deactivate the branch.
Step 7: Save the Configuration
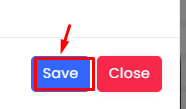
- Save the Branch: After filling in all the necessary details, click the Save button to add the branch to your system.
Step 8: Access the Import Menu
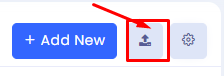
- Open the Import Option: Next to the Add New button, click on the Import icon to access the import options.
Step 9: Import the Completed Template
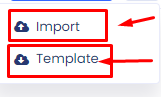
- Select ‘Import’: After filling out the template, return to the import menu and click Import.
- Upload the Template: Upload the completed template file, and the system will automatically add the branches based on the provided data.
Step 10: Verify the Imported Data
Check Branch List: Once the import is complete, navigate back to the branch configuration section to verify that all the branches have been successfully added.
By following these steps, you will successfully configure a new branch in your system. Make sure all fields are correctly filled to ensure the branch is added without any issues.