Step 1: Accessing the Configuration Section
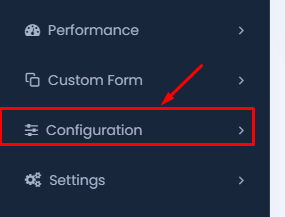
- Navigate to the Sidebar: On your dashboard, locate the sidebar menu.
- Click on Configuration: Within the sidebar, find and click on the “Configuration” option. This will expand the configuration menu, revealing more options.
Step 2: Selecting the Leave Type Option
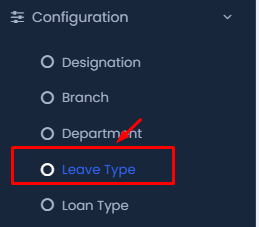
- Choose Leave Type: In the configuration submenu, click on “Leave Type.” This section allows you to manage and add different types of leave for your employees.
Step 3: Adding a New Leave Type
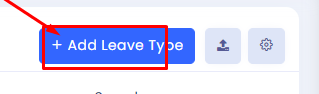
- Click Add Leave Type: At the top right of the Leave Type page, click on the “+ Add Leave Type” button.
Step 4: Filling Out Leave Type Details
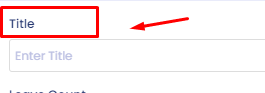
- Enter Title: In the form that appears, start by entering the title for the leave type, such as “Annual Leave” or “Sick Leave.”
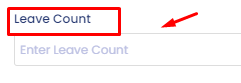
- Enter Leave Count: Specify the number of leaves allowed under this type.
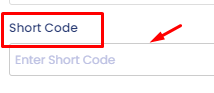
- Enter Short Code: Provide a short code for the leave type, which can be used for quick references within the system.
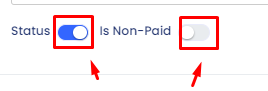
- Set Status and Non-Paid Options: Toggle the status to active or inactive, and specify whether this leave type is paid or non-paid by toggling the appropriate switches.
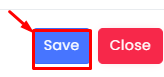
- Click Save: Once all fields are filled, click the “Save” button to add the leave type to your system.
Step 5: Importing Leave Types
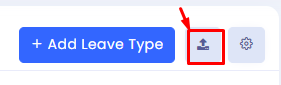
- Click the Import Button: If you want to import multiple leave types at once, click on the import button next to the Add Leave Type button.

- Choose Import or Template: You can either import a file with leave types or download a template to fill in and upload later.
By following these steps, you can efficiently manage leave types within your HR management system, ensuring that all types of employee leaves are accurately recorded and managed.