Step 1: Navigate to Attendance
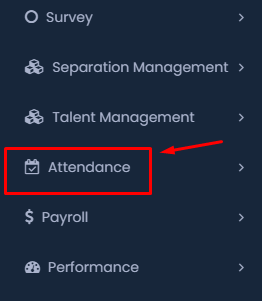
- Action: On the main dashboard, locate and click on the Attendance menu item.
Step 2: Access “My Leaves”
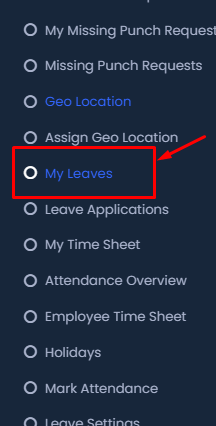
- Action: In the Attendance submenu, click on My Leaves.
Step 3: Initiate Leave Application
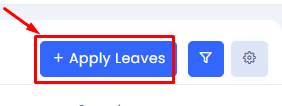
- Action: Click on the + Apply Leaves button located at the top of the My Leaves section.
Step 4: Choose Fiscal Year
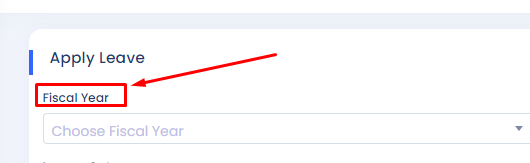
- Action: In the Apply Leave form, select the appropriate Fiscal Year from the dropdown menu.
Step 5: Select Leaves Category
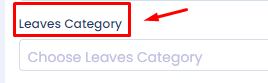
- Action: Choose the relevant Leaves Category from the dropdown options.
Step 6: Specify the Leave Dates
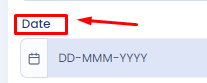
- Action: In the Date field, pick the start and end dates for the leave.
Step 7: Select Leave Type
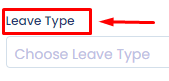
- Action: Choose the Leave Type (e.g., Annual Leave, Sick Leave, etc.) from the available options.
Step 8: Provide Reason for Leave
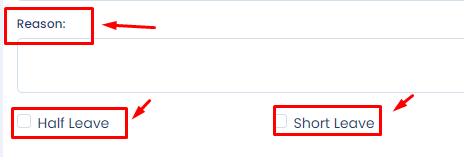
- Action: Enter the reason for the leave in the Reason field. If applicable, select if it is a Half Leave or Short Leave.
Step 9: Draft Your Application
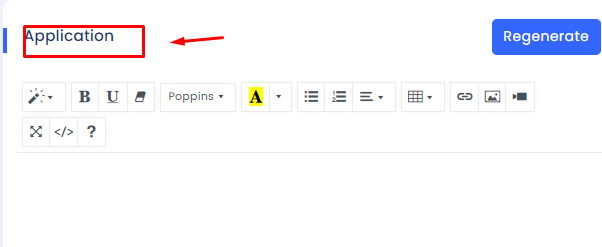
- Action: In the Application text box, draft your leave application. Use the available formatting tools as needed.
Step 10: Submit the Application
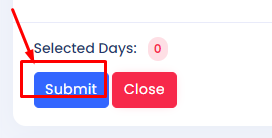
- Action: After filling in all the necessary details, click on the Submit button to send your leave application for approval.
Step 11: Manage Leave Applications
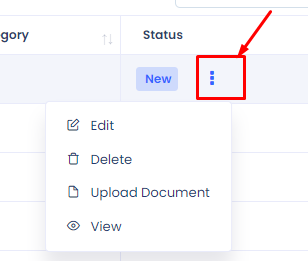
- Action: For any leave entry, click on the three vertical dots next to the status to view options such as Edit, Delete, Upload Document, or View the leave application details.
Step 12: Approve or Reject Leave Applications
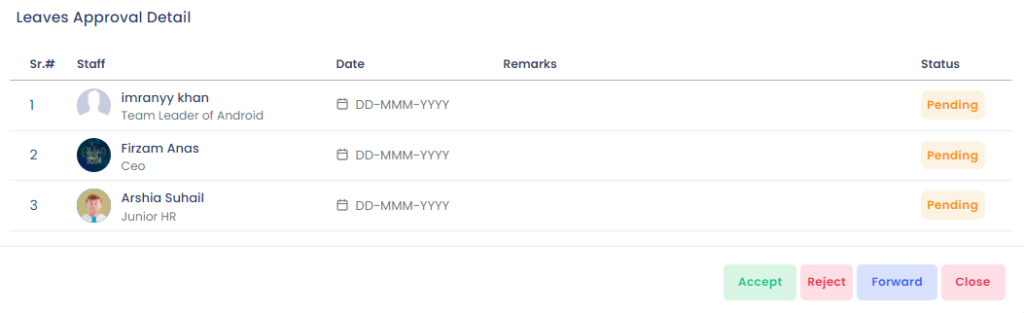
- Action: In the Leaves Approval Detail section, view the pending leave requests. For each request, use the buttons at the bottom (Accept, Reject, Forward, or Close) to take the necessary action.
Step 13: Apply Filters to Refine Your Search

- Action: After navigating to the “My Leaves” section, click on the Filter icon next to the “Apply Leaves” button to refine your search.
Step 14: Select Leave Type
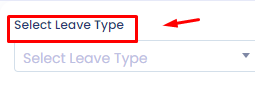
- Action: From the filter options, choose the desired Leave Type from the dropdown menu.
Step 15: Select Leave Status
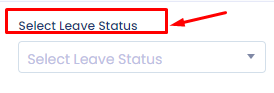
- Action: Next, select the Leave Status (e.g., Pending, Approved) from the dropdown options.
Step 16: Choose a Specific Month
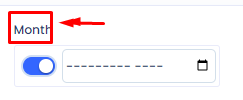
- Action: If you want to filter leaves by a specific month, toggle the Month option and select the appropriate month from the calendar.
Step 17: Apply the Filter
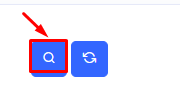
- Action: Once you have set the desired filters, click on the Search icon to apply the filters and display the results.
Step 18: Adjust the Number of Entries Shown
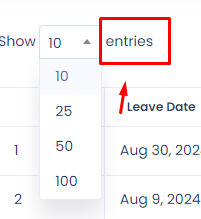
- Action: To change the number of entries shown on the page, use the dropdown menu under entries and select the number you wish to view (e.g., 10, 25, 50, 100).
Step 19: Customize Column Preferences
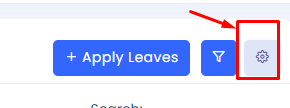
- Action: Click on the gear icon next to the Filter icon to access the Columns Preferences.
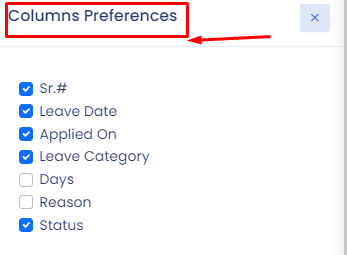
- Here, you can select or deselect the columns you want to appear in your view, such as Sr.#, Leave Date, Applied On, Leave Category, Days, Reason, and Status.
Step 20: Save or Apply Column Preferences
- Action: After selecting your preferred columns, close the preferences menu, and the chosen settings will be applied to your current view.
This guide should help you efficiently navigate and manage leaves within the system, ensuring that you can both apply for and manage leave requests with ease.